Showing posts with label Decorations. Show all posts

Wednesday, December 21, 2016

5 Christmas DIY Hacks & Crafts


Tis' the Season, for hosting dinners, decorating and keeping kiddo's busy during the Christmas break. All of this can get a little hairy when you think about all that we take on every year, shopping, cooking and decorating can get the budget a little stretched out. I asked a few of my lovely friends and fellow bloggers if they could share with us some easy and not-so-costly ideas on how they make the holidays a little brighter. 

Winter Wonderland Centerpiece : By Jihane @ Onixj.com


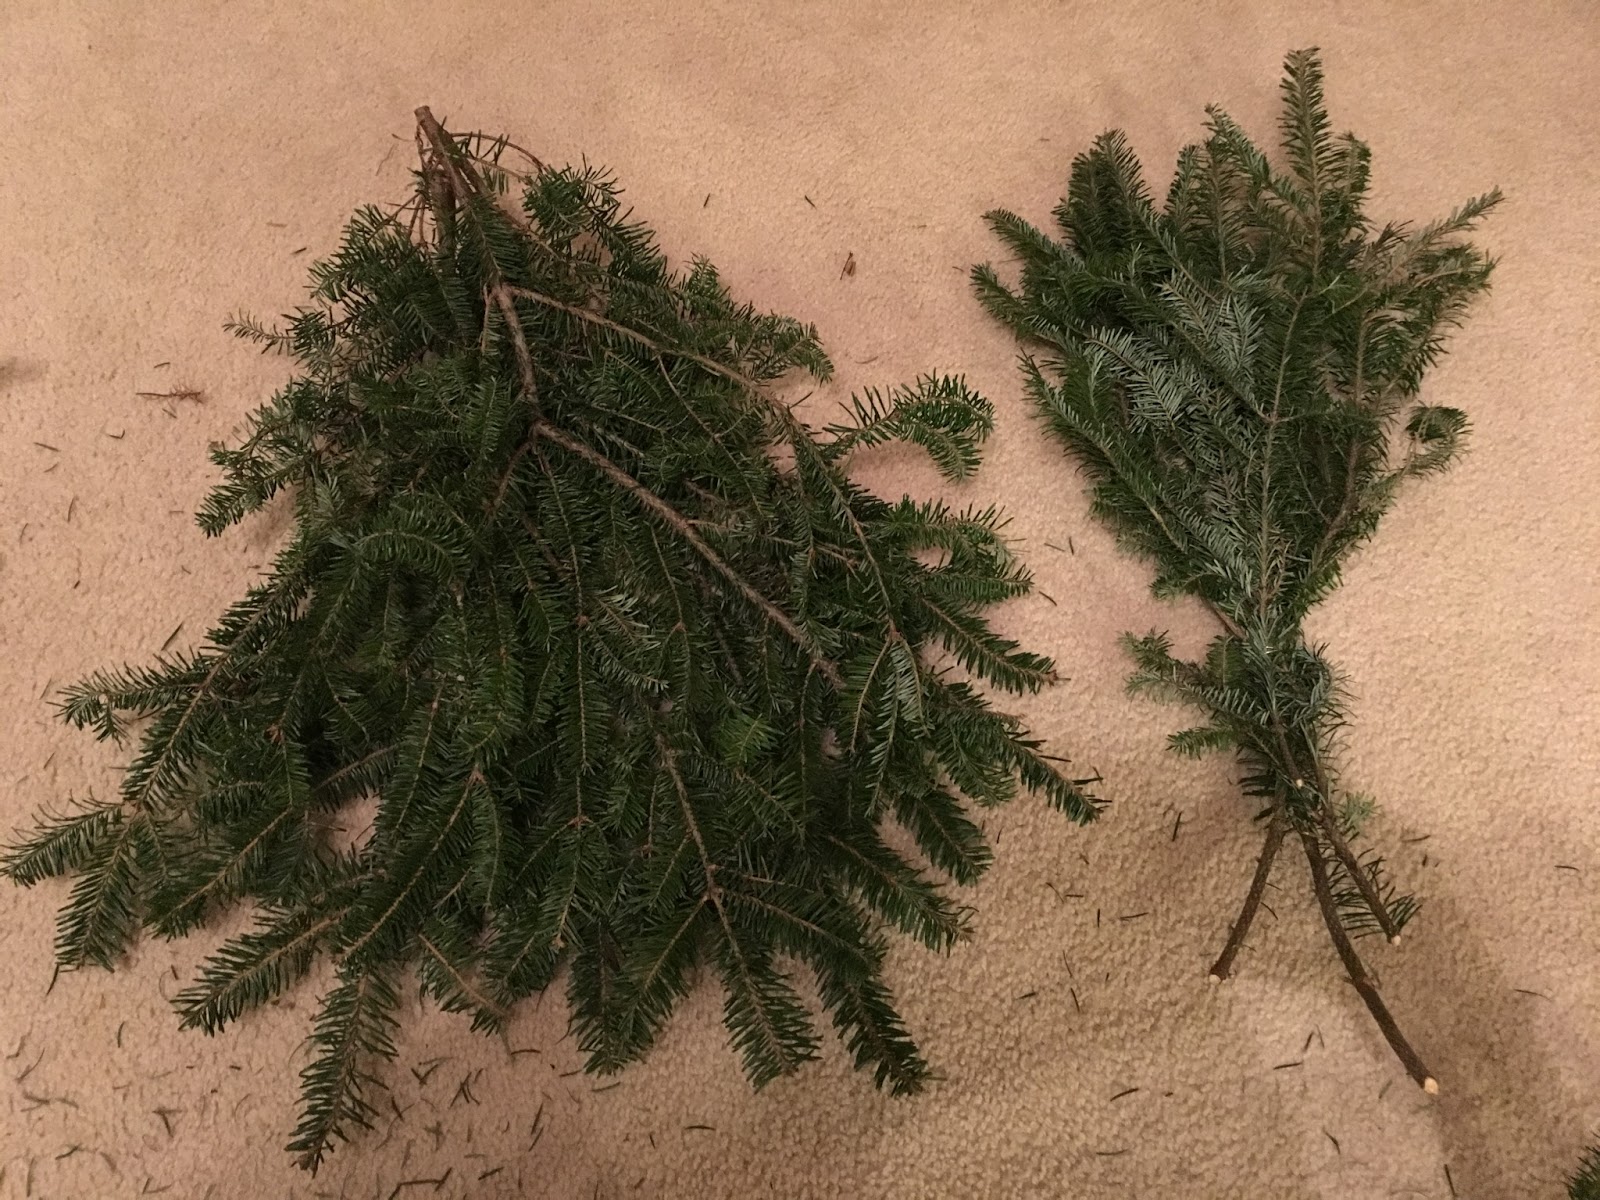
My parents were hosting a dinner party and they asked me to create a unique centerpiece. They asked me to include the colors gold and silver. I went for a forest inspired piece using "snow" covered tree branches and combining them with some winter evergreen pine branches. Added some sparkle with a statement golden star (also made of tree branches) small snow covered ornaments, and fake snow at the bottom of the centerpiece to complete the forest inspired arrangement. Make sure you use floral dry foam to keep all the elements in place. I finished the whole thing by adding acorns, branches and lights ❄️✨at the base.


Merry Christmas Wreath: By Connie @ MommaofDos.com


In order to create my wreath, I purchased some great Christmas decorations/ornaments and a medium size green wreath. You will need some hot glue or if you have ornaments ties or ribbon would also work. Creating the wreath is very simple and takes no time at all. You can have it done in about 30 minutes depending on how much detail you want to add.

I first make a mock arrangement of my wreath and try to imagine what I want it to look like. Once I have dreamed up my perfect Christmas wreath; I start affixing the ornaments, ribbon, and bows. I purchased a pre-made bow, which is always easier, and some ribbon to tie around the entire wreath. Once I have secured all the ornaments and details to my wreath with ribbon ties or hot glue; it is ready to go on my front door and welcome our guest when they arrive on Noche Buena.


Santa & Rudolph Paintbrush Craft: By Lauren 


Paint the handle red for the Santa and brown for the Rudolph. Do about two or three coats so you won't see the original color. Once dry take your felt, and wrap a around half the gold plate and glue as you go (leave enough room for the eyes and nose. Than glue your eyes and nose. Add your own touch as I did with the silver embellishment on the corner of the felt.

Once your Rudolph is done drying. Use your pipe cleaner to wrap around to make the ears. Glue your eyes and nose. You are done!

Rustic Christmas Wreath: By Amanda 


The first step is to cut up the log. Then I hot-glued the pieces of wood together. The next step is to decorate it. This step is the lengthiest step because your trying different things until you think it looks good. 
Overall this project took my about 30-45 minutes and that’s because I couldn’t make up my mind on how to decorate the wreath. Well, having some wine might have had something to do with it.
 Lol! This is a cheap and easy DIY project that I would recommend anyone to do.

Upside Down Christmas Wreath: By Yvonne @faithcoffeelove.com


This year I'll be hosting Christmas at my house I thought about putting together a center piece for my table but truth be told, when it's dinner time around here there is no space for a center piece! So I thought outside the box and flipped my center piece upside down. I simply took and unused wreath, spruced it up, used wire, fishing line and hot glue to add some extra ornaments. 

I used the wire to attache my wreath upside down on my light fixture, sometimes you might need a third hand to get this up there with out it falling on your head!  Then I tied fishing line to the wreath and hung a few ornaments at different lengths.
I loved how it turned out! 

Wednesday, November 30, 2016

DIY Christmas Swag

 My gosh this year has been a little bit upside down and backwards, this holiday season has been lined with a little bit of sorrow and it makes it just a little bit harder to get into to the Spirit of the season. Very possibly for this reason I wanted to make sure we had our Christmas decorations out and ready this year, early. I’m just like a lot of moms some years we are on the ball and some years I’m shopping for our Christmas Tree the weekend before Christmas – it happens.

Currently because of my insisting on getting everything out, my living room looks like it threw up Christmas all over, glitter, ribbon, ornaments, pine needles and all kinds of seasonal décor spreads out from my entry way through my dining room and into my living-room. It’s okay though, it’s all finding it’s place and hopefully by this weekend it’ll all be beautiful and my Christmas wonderland will be set up and I can focus on other things… like shopping!

We are that family, the ones who want a real Christmas Tree every year and when we go get our tree I always bring home with me the tree trimmings they cut off from our tree, also if you don’t know most places keep a pile of all trimmings that you can pick through and take home, so I always grab a few extra just for kicks. What do you do with said trimmings… well all kinds of stuff really? I’ve filled a tall clear glass vase with cut up branches and Christmas lights, very pretty and easy DIY.


This year I wanted to make a Christmas Swag for my house, here is my step by step process to make a quick and inexpensive Christmas decoration. 


First of you need tools, just a few: scissors, pliers, shears and thin wire.


Next with the shears cut down all of the branches and separate them into manageable pieces. 


For the swag I wanted to create, I needed a smaller piece for the top and a larger one for the bottom. I sort through all my pieces and just play around with the arrangement until I can sort them out into the two parts I feel I'm going to need to make it work. Don't worry too much this is not the final size, you can always trim off any excess later. 


Once you have both pieces tie each one with the wire to hold them in place and then tie them both together with another piece of wire to hold them both together.

I had a bow stashed away from last year that I used and I tied all three together with wire nice and tight. You can use your pliers when tightening wire because your fingertips might be to slippery.


Next I pulled out more random decorations and started to "squeeze" them into the arrangement, I ended up adding more wire to tie in some of the sparkly branches and some of the decorations had wire ends that I just worked into the branches.


Once I thought I had it figured out, I hung it out side on my front door! Ta-Da! You can see I ended up adding some more ornaments, these I tied on with some thin rope, nothing fancy. If you like to whip out your hot glue gun, you could easily glue more ornaments if you want something more elaborate than this. I like to keep it simple :) but wait, I wan't finished, I felt like it was to big and a little crazy looking, I used my shears and trimmed it down. 


Now it's done! Simple and just like that a fresh DIY Christmas Swag!


Monday, October 31, 2016

Spooktacular Halloween


I hope you are having Spooktacular Halloween! Around here Halloween is like the pre-season game for the Holiday's! We all get hyped up around here and love every minute of it, I included some quick pictures of what it looks like around here tonight...
We each made foam houses to decorate the dinning room. 

We carved out pumpkins! From left to right -
Daddy's cat, Mommy's ghost & Hailey Bear's scary Face! 

Left to right- Ashley's Harry Potter & Chris's Smirking Pumpkin

I loved how the front entry way turned out.

Of course my Beautiful Princess!
What ever you find your self doing tonight, be safe, have fun and keep it Spooky!!!