
Currently because of my insisting on getting everything out, my living room looks like it threw up Christmas all over, glitter, ribbon,
ornaments, pine needles and all kinds of seasonal décor spreads out from my
entry way through my dining room and into my living-room. It’s okay though, it’s
all finding it’s place and hopefully by this weekend it’ll all be beautiful and
my Christmas wonderland will be set up and I can focus on other things… like
shopping!
We are that family, the ones who want a real Christmas Tree
every year and when we go get our tree I always bring home with me the tree
trimmings they cut off from our tree, also if you don’t know most places keep a
pile of all trimmings that you can pick through and take home, so I always grab a
few extra just for kicks. What do you do with said trimmings… well all kinds of
stuff really? I’ve filled a tall clear glass vase with cut up branches and
Christmas lights, very pretty and easy DIY.
This year I wanted to make a Christmas Swag for my house,
here is my step by step process to make a quick and inexpensive Christmas
decoration.

First of you need tools, just a few: scissors, pliers, shears and thin wire.

Next with the shears cut down all of the branches and separate them into manageable pieces.
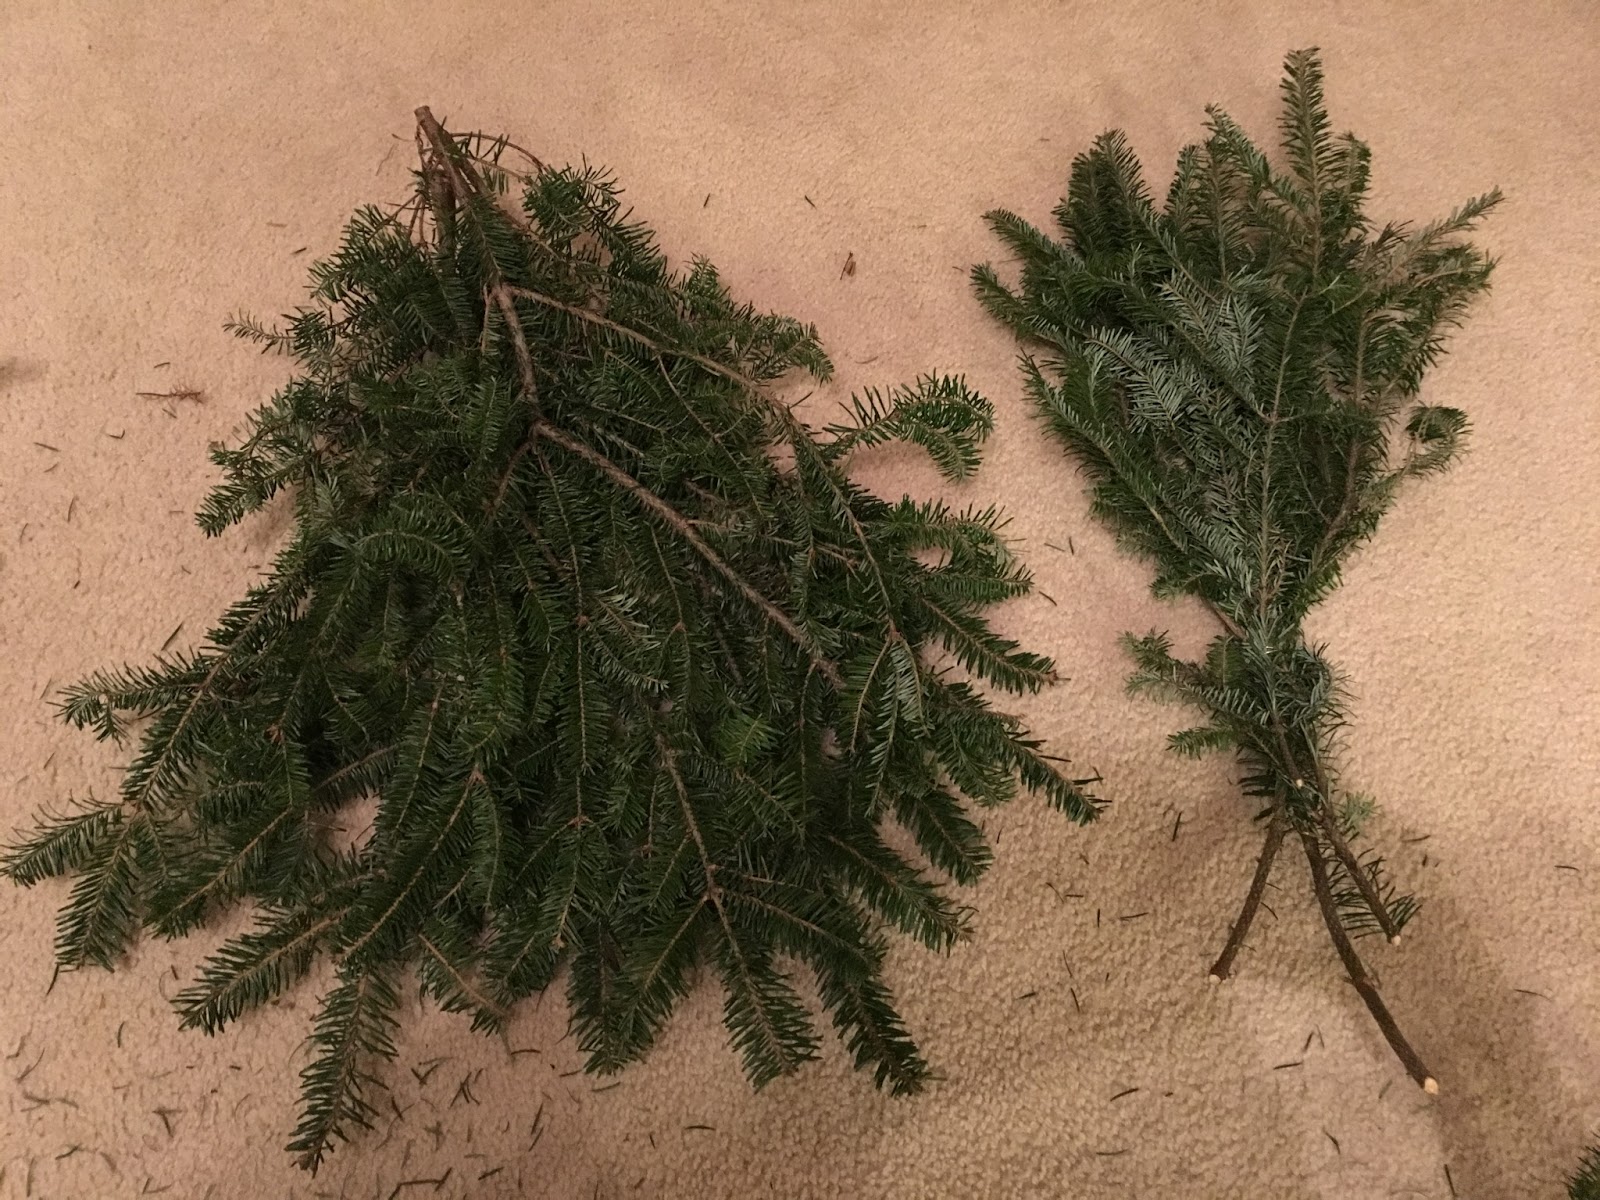
For the swag I wanted to create, I needed a smaller piece for the top and a larger one for the bottom. I sort through all my pieces and just play around with the arrangement until I can sort them out into the two parts I feel I'm going to need to make it work. Don't worry too much this is not the final size, you can always trim off any excess later.

Once you have both pieces tie each one with the wire to hold them in place and then tie them both together with another piece of wire to hold them both together.

I had a bow stashed away from last year that I used and I tied all three together with wire nice and tight. You can use your pliers when tightening wire because your fingertips might be to slippery.


Next I pulled out more random decorations and started to "squeeze" them into the arrangement, I ended up adding more wire to tie in some of the sparkly branches and some of the decorations had wire ends that I just worked into the branches.

Once I thought I had it figured out, I hung it out side on my front door! Ta-Da! You can see I ended up adding some more ornaments, these I tied on with some thin rope, nothing fancy. If you like to whip out your hot glue gun, you could easily glue more ornaments if you want something more elaborate than this. I like to keep it simple :) but wait, I wan't finished, I felt like it was to big and a little crazy looking, I used my shears and trimmed it down.

Now it's done! Simple and just like that a fresh DIY Christmas Swag!
What an easy DIY! I love it! Thanks for sharing!
ReplyDeleteYou are on a roll woman! All kinds of DIY projects :)
ReplyDeleteSO CUTE! Nothing I could do. LOL!!!
ReplyDeleteVery cute & I appreciate that it's something different than the usual wreath!
ReplyDelete