Thursday, June 23, 2016

Weekend Snapshots 9 | More Love and Mushy Stuff

This past weekend was somewhat of super mushy lovely kind of weekend, with plans to attend a wedding and then Father’s Day, of course love was in the air! Now that my weekends start on Friday I am trying to make appointments that I would otherwise schedule time off of work, so I totally got my hair did! I still have not taken a good picture of my hair, partly because I was not crazy about how it turned out (I still am not convinced about it) but oh well hopefully it will grow on me or I’ll have to cough up some cash-o-la and get it redone!

Our next stop was to take some pictures of little bear for a Father’s Day idea I had. You must realize this was not an easy task, little bear was all about doing pictures until she had to be outside in the Texas Heat and then she started melting. This girl, let me tell you, she is fine and dandy chasing bugs, squirrels and grasshoppers but posing for a picture – please who has time for that? I just needed 3 good shots thankfully I got them before we passed out from heat exhaustion! I think they came out pretty good!

Saturday, was all about the wedding as my hubby was a groomsmen for his cousin. The Bride and Groom have been looking forward to sharing this special day with their friends and family for quite some time and we were happy to be a part of it all. Most of you may not know I once planned weddings (shocker I know), for about 5 years as a single momma, that was the bread winner for my family of two. It was a demanding job and very detail oriented, some 15 years later it is embedded in my soul. Till this day when I am at a wedding, I still want to walk up to strange men and fix their boutonnieres, I want to adjust their collars and fix their shirts too. It drives me nuts! Thankfully this was family and they fully gave me the okay to pin, adjust and straighten up to my hearts delight! HA!
The wedding took place in Willis, TX not too far from home but we took advantage of the distance and stayed in the area over night. This way Sunday morning could be focused on the hubby for Father’s Day. We took a drive to the Woodlands and enjoyed a nice breakfast. Hailey was excited to get home and share her present with her daddy!

Later Sunday evening we walked over to my dad’s and spent the evening with all my siblings! This has only happened a hand full of times and this Sunday was one of them. My siblings and I are an odd bunch, we come from all different stories but of course at the end of the day we have the common denominator – Daddy-O! Sometimes being a grown up means putting away the past and learning how to cherish the present and we did just that.


I hope you had a great and awesome Father’s Day weekend, check out little bears pictures below and maybe you’ll be inspired to do something like this next year! As always check the ladies at 3twentysix and TheReinvention of Jessica to see how they were able to enjoy their weekend too! 


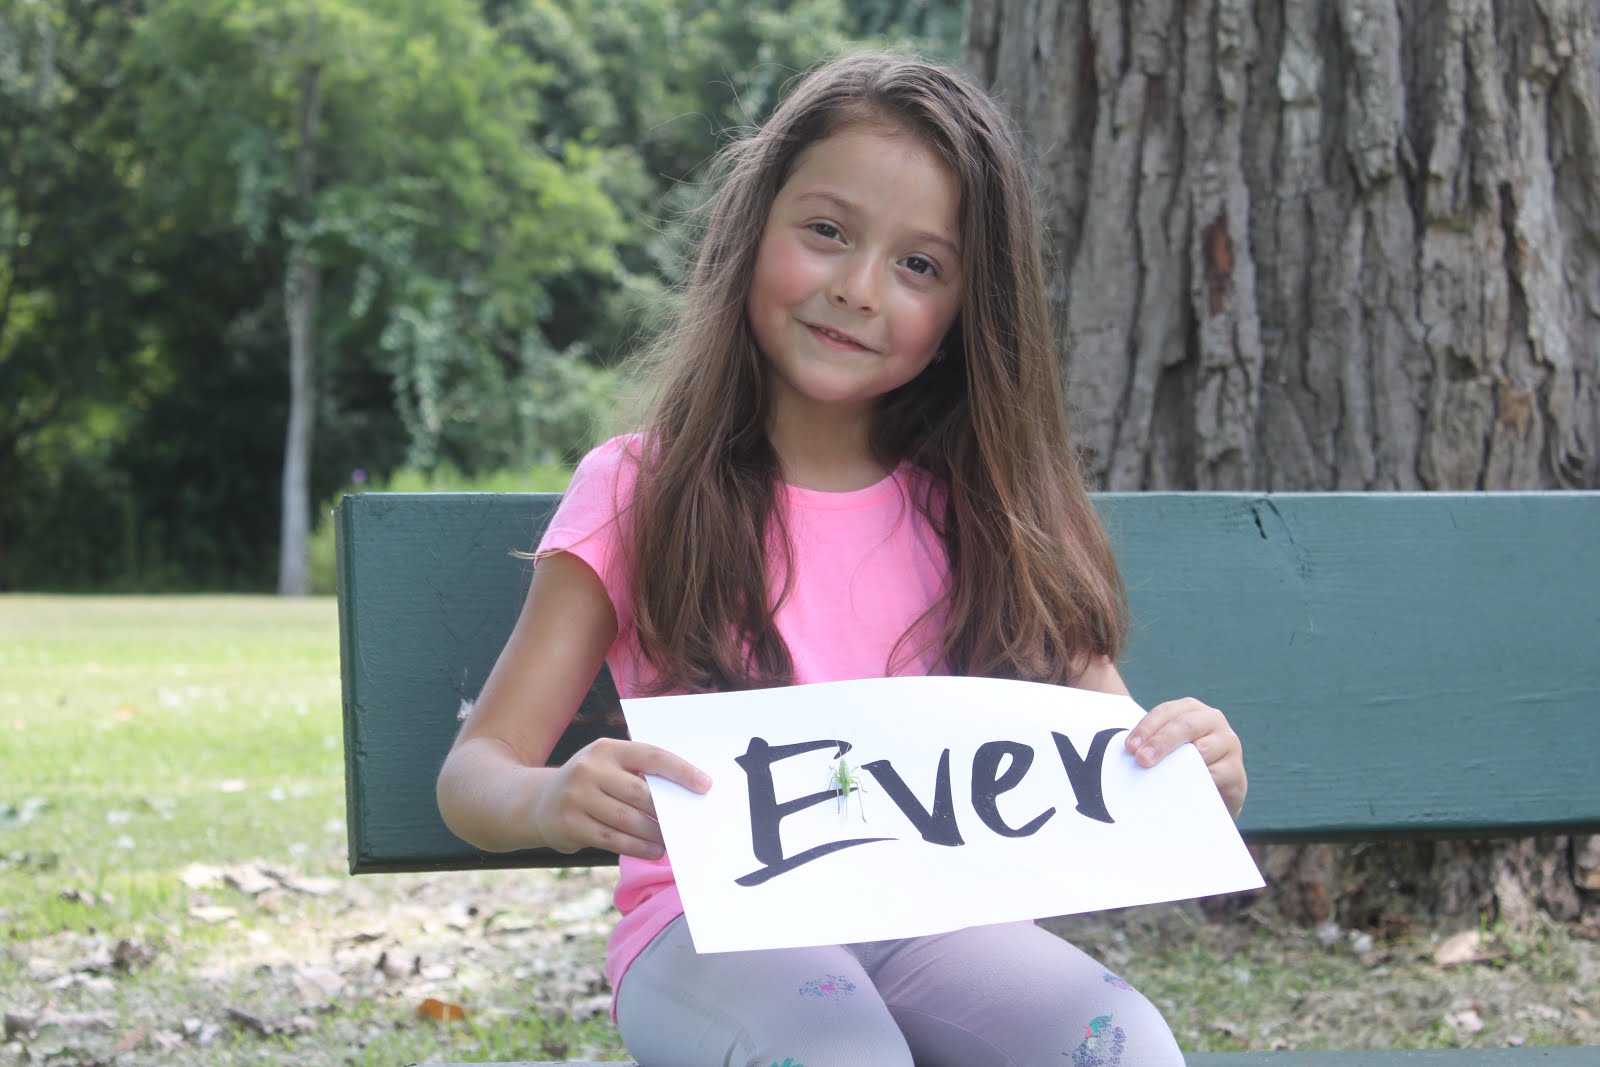
Now that's a real smile- because she caught a grasshopper on her sign!! 
Congrats to the beautiful couple! 
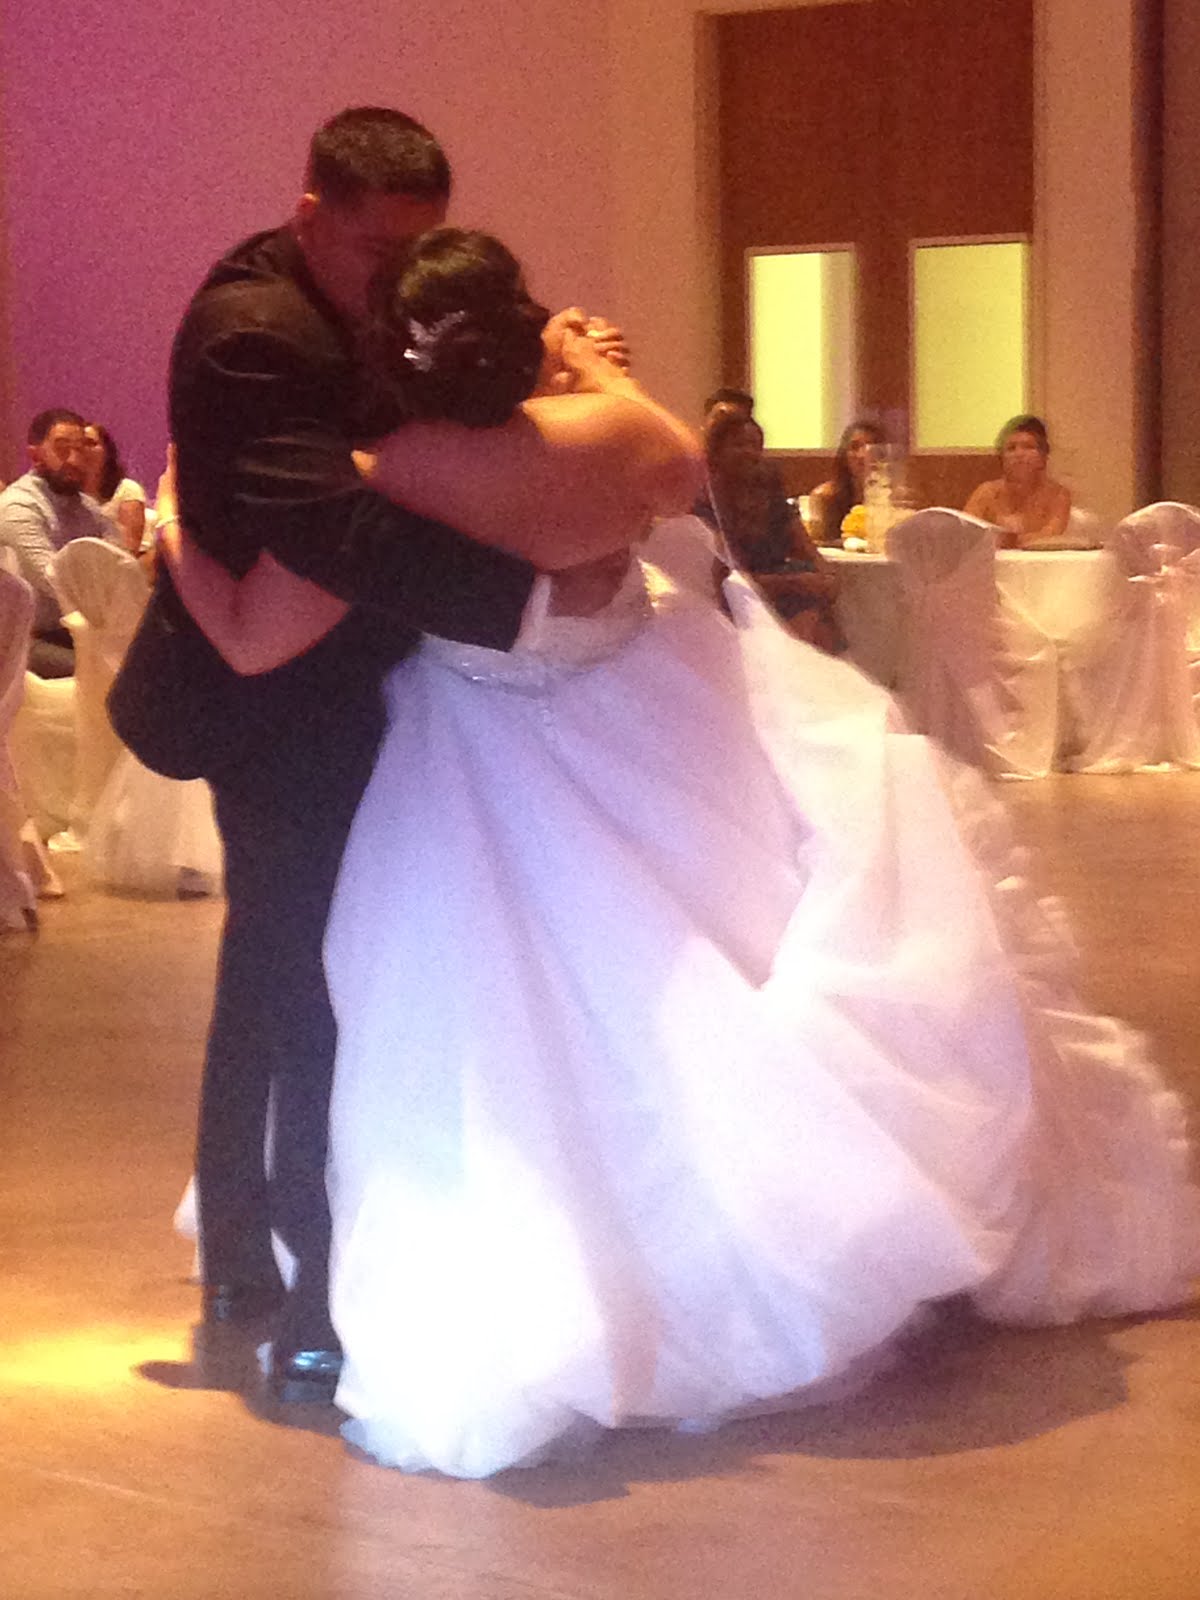
All the love right here! 


A Police Man, Dog Loving Groom! 
Family Selfie Time!!

 Perfectly Normal! 


Friday, June 17, 2016

DIY Grilling and Chilling Caddy

Follow the link to find a workshop near you! 
A few weeks ago I came across a great post on Facebook for Home Depot and their “Free Do-it-Herself” Workshop! I love the idea of Home Depot having a workshop for the ladies! I have been painting rooms and helping my brother redo kitchens and bathrooms in one way or another for years. I have always felt comfortable with your basic power tools and I love the challenge of learning more when it comes to building and creating things.  

What does surprise me, is how many women out there do not feel comfortable with power tools or household projects. When talking to a friend about changing out a light fixture she said “I’m not comfortable with something like that” or when looking at my latest creation DIY Planter Box “How do you even make something like that?”

Earlier in the year I was able to interview Kayleen McCabe from the DIY’s Network show Rescue Renovation and she sparked a new interest in wood working for me. Giving me the encouragement to tackle the use of power tools with a whole new minds set! If she could do it, so could I. Home Depot is now giving women the opportunity to do a project and be hands on with power tools to make and create something they otherwise might not have felt they were capable of doing.

I was not able to make it to the workshop that week but I did take the image of their project and make my own that weekend. As you know I have been working with a good stock pile of Pallet wood, so I pulled out some pieces and made my very own Grilling Caddy. My husband and I do quite a bit of grilling, as soon as I saw this Caddy, I knew I needed it in my life!

Using scrap wood, I played with the size I needed and the angle of the cuts. Eventually I managed to get everything cut down to size. I used my grilling tools to figure how long and wide I needed my caddy to be. 

After sanding and staining everything I was able to put it all together. I even used my wood burning tool and stencil to customize it just a little bit :) 

Because when we get together to burn some meat, we like to call it - Grilling and Chilling time! 


Using Pallet Wood gave it that texture that I love!!
I couldn't leave off the handy dandy Bottle Opener! 

The Grilling Caddy! 

Also known as The Chilling Caddy!! 
Here is the rough draft of the cuts that you need. I am still playing with the layout of building plans - I promise they will get better with time :)


Tuesday, June 14, 2016

This Weekend Snapshots 8 | Kids + Summer

Cockrell Butterfly Center @ HMNS

Summer is in full swing now, I have Fridays off for the summer, the pools are open and the heat is on! This weekend I was able to have my niece and nephew stay a couple of nights to celebrate my niece’s birthday – she turned 7 (OMG) on Friday!! I still remember the night she was born, I was miles away on my Honey Moon in Hawaii, and in the middle of the night I woke up something in my heart told me it was time. I checked my phone, no calls and no messages but I was still pretty certain that I would not be there for her birth. By morning my brother called me to let me know she was born and healthy (as was momma) and my heart was full – little bear was only six months away herself and her niece was officially waiting for her cousin to be born.

These girls love each other deeply, they squeal and giggle in the anticipation of the other. This weekend was no different, Hailey was going crazy “making plans” for everything they had to do this weekend. Friday I took the girls shopping (my nephew in tow even though he is getting way too cool these days) and then we went swimming! Oh how we love the water, these kids could live at the pool if we let them and I have to say I don’t mind it much myself. Armed with snacks, drinks and major amounts of sunscreen we chilled at the pool for hours. By the time we made it home pizza and movies finished off the night until they all passed out (it’s a beautiful thing, being exhausted after going to the pool!).

Saturday went by pretty quick getting ready and then heading to Houston Museum of Natural Science for the Birthday Party – did you know you can have birthday parties at the Museum? It was actually very cool the kids made slime and visited the Butterfly center before heading back to the party room for some grub and ice-cream cake! Oh Yeah!

A pretty good deal for a kid’s birthday party if you ask me! Normally if you have a 2 hour time slot for a party, that’s it! After your two hours you are done, and head on home but this way everyone also had admission to the general exhibit, so they could stay and explore afterwards.

Sunday was pretty much normal, I was exhausted! LOL I normally have only one little bear with me and one giant one out on his own, being momma of more wore me out! Thankfully it was a rainy Sunday which totally allowed for us to chill and watch movies. I did manage to pry myself off the couch to finish up the details on another wood working project (on the blog Thursday!).


Don't forget to check what the other ladies at 3TwentySix and The Reinvention of Jessica are doing this summer! What are your go to summer activities? I see a lot of Fridays at the pool in our future :) 

Shopping Shenanigans!!
Little Bear making a Splash! 
Niece and Nephew having a blast! 
Lazy River Time

Birthday Girl's Underwater Shot!
LOL My Underwater Shot didn't come out as well!! 
Over looking the Rose Garden
Slime Time!
7 year old cuteness 


Wood Burning and Finishing touches! 


Thursday, June 2, 2016

DIY Planter Box


A few months back I came across a few wood pallets, why wood pallets? If you have not come across the wood pallet craze just go to the wonderful land of Pinterest and type in pallet and welcome to my world of madness. The possibilities are endless!!

My new toys!
Over the past few months I also acquired a few new toys for my projects!! I introduce to you my, Miter Saw, Orbital Sander and a Nail Gun :) put these together with some fresh pallet wood and my wheels started turning. One idea came from a Pinterest post like this one here, of course this one has already finished pieces of wood that you simply cut down to size and follow the instructions to make a very Chic Planter Box.

I had to take pallet wood and cut it down
to fit planters like this.
I figured I had so much spare wood plus, I know how to cut wood, I know how to sand wood, I know how to stain and paint – how hard could this be? I wish I could tell you this is a step by step “How to” post to make my planter box but it’s not. Although I’ll show you a bit of my process along the way, truth is I had always worked on projects with someone by my side, my brother and my husband normally doing the “harder cuts” for me and me doing a little here and there. This time I was bound and determined to make this box by myself.
The transformation

My first challenge was cutting planks of wood down to size using my Miter Saw to do the dirty work, the Miter saw is more commonly used to cut across wood or to take a piece of wood down in length, not to cut down the width of a piece of wood. I walked away from this project a couple of time during this process. I was frustrated with how hard it was to get clean cuts, eventually I came back to it and cut what felt like a million little pieces. Afterwards the rest was a little easier, sanding and staining was much more fun.

I decided to stain all the wood pieces first, then assemble the box it's self.  I dry brushed an antique white over the stain to get it an aged weathered look. I added some handles and stenciled letters as the finishing touches. The final product came out beautiful!

Although my cuts were rough and sometimes uneven, in the end it gave my box a natural aged look. Overall the project was a learning experience, making so many cuts lead to getting to know my Miter Saw really well. I've completed a few more projects since then and I think I've got the hang of it now!


Rough Draft and Plans: